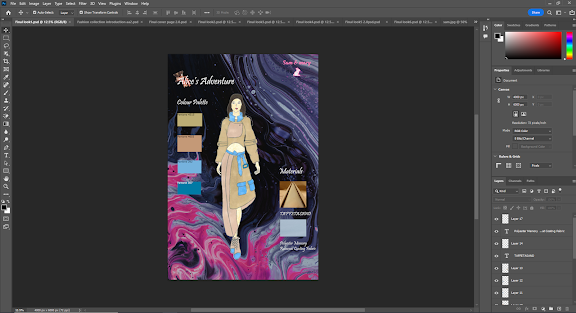
Final Outcome Photoshop Process
I have now finalised my fashion design drawings therefore I have scanned these in so that I can use these in Photoshop to create my final Portfolio designs. These are my images below as you can see I have completed the colour with pro-markers. I also completed the facial features using coloured pencils. I am happy with my final designs as they used the colour palette from Alice in Wonderland as I planned. I have worked hard on selecting materials for each design and I am hoping that my final portfolio will showcase my designs and choices in the best light.
I then added the background design. I did this by clicking on File-Open and then choosing the correct jpeg image from my desktop. I then clicked on select in the top menu and then all in teh drop down box. I then clicked on edit in the top menu and then copy. I then went back to my canvas and clicked on Edit-Paste
I also added the text and titles for the color palette and materials
I then added the logo which I created on Tailorbrands. I used the png snip and used the magic eraser to remove the background so I could add to each page consistently.


Comments
Post a Comment